


Convert photos into drawings using Photoshop
Categories: Light room — Tags: Bianco e nero, carboncino, disegno, matita, penna, Pittorialismo, tratto
Translations:
 italiano •
Our last stage before start drawing is the creation of another background copy, positioned over all the other layers. Let’s apply a little bit of noise, for example with an intensity of 10, to partially brake the the file and have a less photographic image. Select Darken as fusion option and add a black level mask. Drawing in white on this mask, you reveal the image underneath, the prepared trace allow you to choose where to draw. Cross sharp marks to simulate a hard pencil, use soft brushes to obtain the effect of a drawing faded with fingers. Keep the drawing marks separated from each others on the mask to obtain a pencil or pen drawing, mix them both to obtain a charcoal drawing.
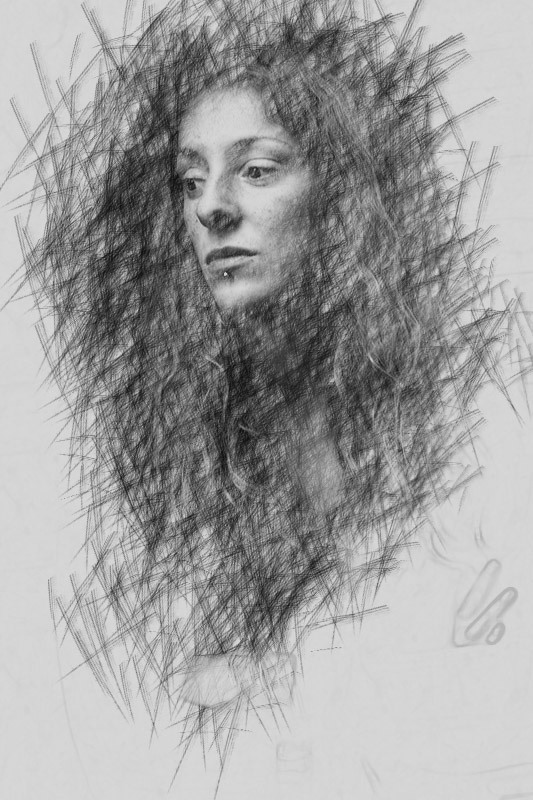
The drawing
In his tutorial Tim Shelburne suggest to use a brush from the Dry Media Brushes set. I personally found this solution difficult, most of all for those who doesn’t use a graphics tablet and are not used to draw. I found a quick, practical alternative that achieve, in my opinion, more convincing result.

The idea is to find a way to produce defined and precise marks, quickly and more or less automatically, using a brush originally created to scratch (free download at Scratch Grunge Photoshop Brushes), obtained exactly the desired effect. Once installed the set, it is available a 572 pixel preset, with a long and thin shape, perfect to simulate the mark of a pen or pencil.
This brush, when used directly, forms parallel and regular lines that suddenly demonstrate the digital nature of the image. Anyway, using brush options it is possible to effectively solve this problem. Press F5 to open the brushes palette. Brush Tip Shape window allow you to modify the inclination of the mark, for example if you have a preferred drawing direction you want to follow or if you want to modify the space between two marks that I suggest to keep large. In the Shape Dynamics window, modifying Size Jitter and Minimum Diameter controls, you can produce a series of marks with random inclinations, perfect to darken large blocking of the image. Use the Scatter window to offset the initial and ending part of all the marks. It is obviously possible to create presets, to quickly jump from a combination of options to another.
