


Convert photos into drawings using Photoshop
It’s been a long time since I first tried to convert pictures into drawings, or more precisely, since I first tried to define a procedure that allows the simulation of a charcoal, pencil, blood drawing from a picture.
The majority of the online tutorials use automatic Photoshop filters, that I personally consider awful, both artistic, stylization and border identification ones. Images always seem a little bit artificial, the artistic technique they refer in reality are really different, you always notice it’s a filtered picture and not a real drawing and all of those images are extremely similar to each others. It is recommended to work with your own two hands, more than entrust an automatic system.
The best tutorial I found online that I tested, based on this presupposition, is Photo to Pencil Sketch written by Tim Shelbourne (on his web site many other free tutorials are available) and published on Photoshop Photo Effects Cookbook.

The most difficult part of this tutorial is that you have to be a little bit painter to draw some pencil marks in a pleasing way or you suddenly notice that the creator could barely keep a pen in its hand. Moreover, it is practically necessary to have a graphics tablet, because a mouse doesn’t allow a correct drawing. I made attempts for some time and I finally found a rewarding way to remedy those problems. Besides, I found some little expedients that are not reported into the original article. I will guide you through the tutorial above mentioned with a series of personal reflections that will lead you to better results.
Picture preparation

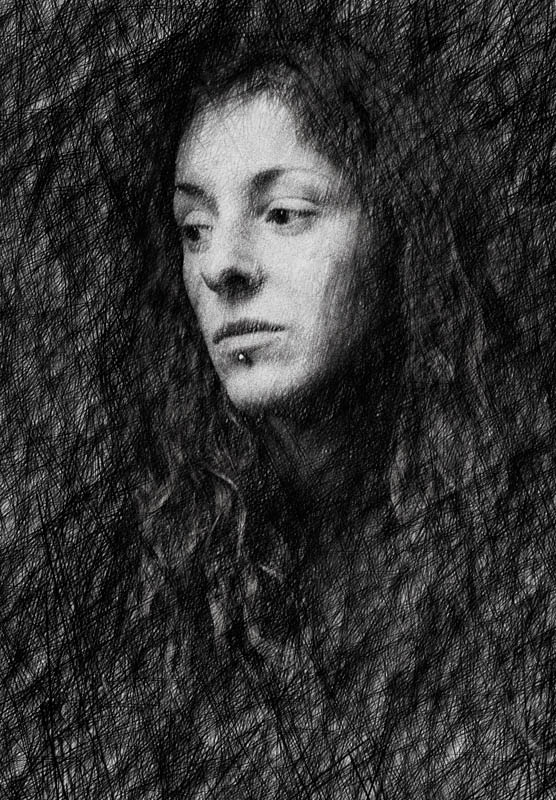
First of all, you have to choose the right image. Drawings and pictures works in a deeply different manner. Pictures have sweet tonal transitions, rich details, closed shadows and burned lights are usually not aesthetic. Pencil drawings must build blacks with marks, with discontinuous lines; grey scale is due to density relative to black and white lines. Moreover, drawings are less detailed: blocking, matters, surfaces are part of the paint; drawing is focused on edges, shapes, marks. Understanding all those rough differences is fundamental to obtain a good result.
Therefore, graphical images are the most adapted ones, which would work even with white, black and grey scales only. Poor and high-contrasted picture. Images where little details are not important, but where white and black volumes are indispensable. To make the image ready, it is advisable to considerably augment the contrast, to separate shadows from lights. A global augmentation of the general contrast is not sufficient and appropriate. Try to manually select parts of the picture, substantially augment or reduce brightness. Whiten, blacken, augment the local contrast, zone per zone. During this phase, you already need to have your goal clear and a little bit of practice is required.

Camera Obscura » La prima candelina
said, June 7, 2008 @ 12:59 PM :
[...] Trasformare una foto in disegno a matita con Photoshop 1,446 visite [...]